
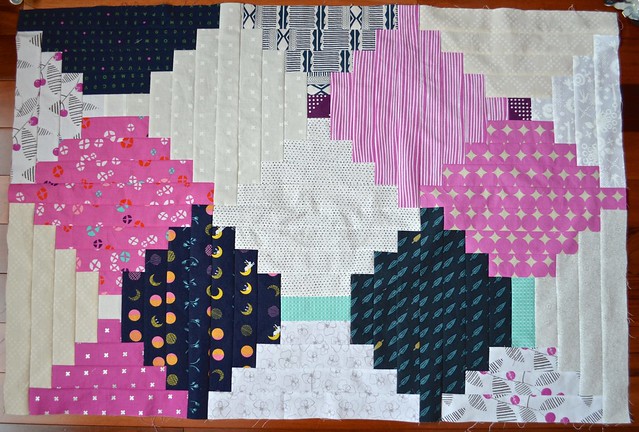
I tried out a couple of my ideas to improve the look of my courthouse steps quilt after asking for help the other day here. The small white starting, or home, piece was bothering me given that my layout meant that the blocks are not quite symmetrical and there are a lot of low volume lights in the quilt.
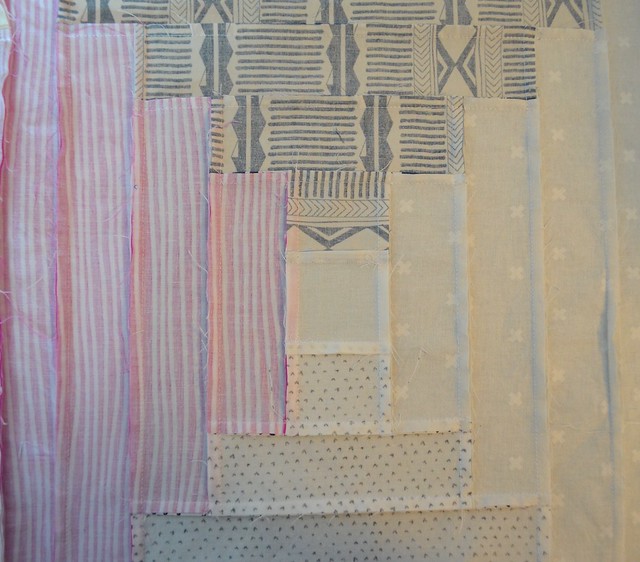
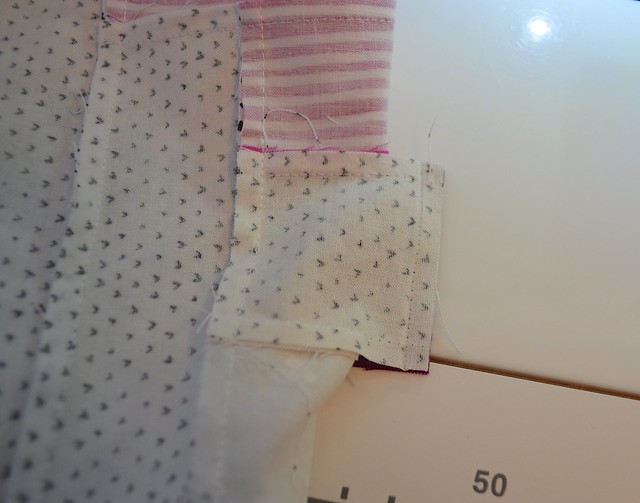
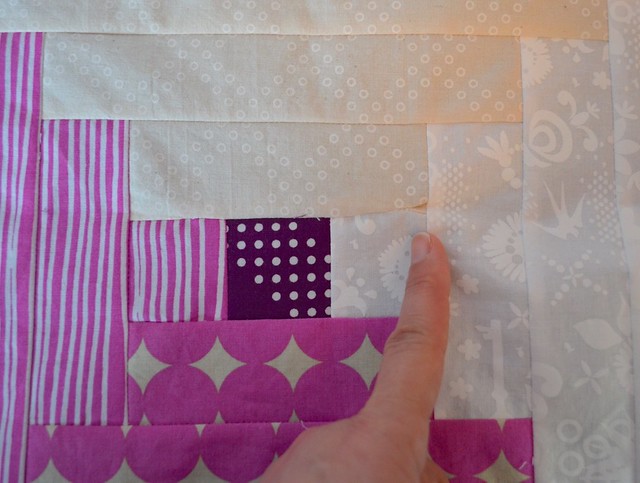
A number of people asked me to share a tutorial on how to do this. It's easy but you do need to pay attention and take your time. First find the piece you want to remove on the back of the block.
Using a seam ripper, remove the piece. Pick out the stitches on all sides of the piece and also the stitches about 1/2" beyond the piece along each seam. Take the time to remove all the little bits of threads.
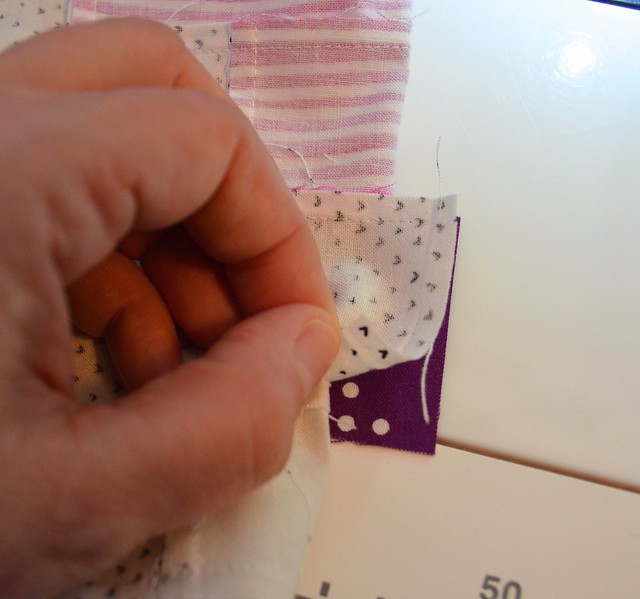
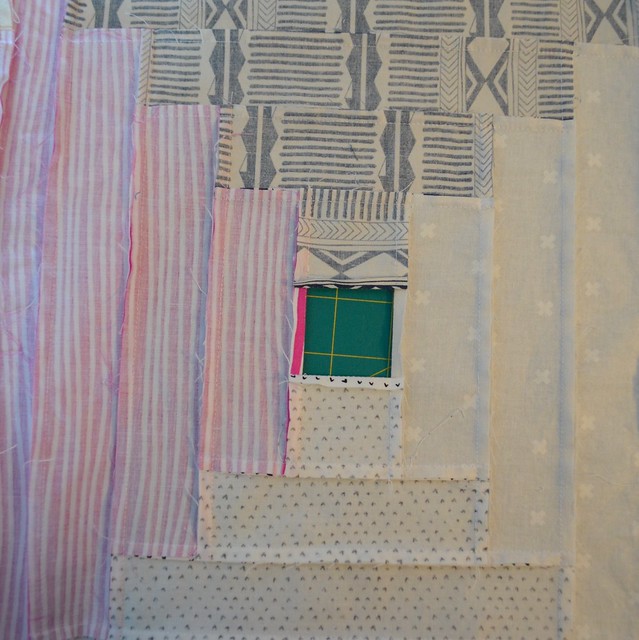
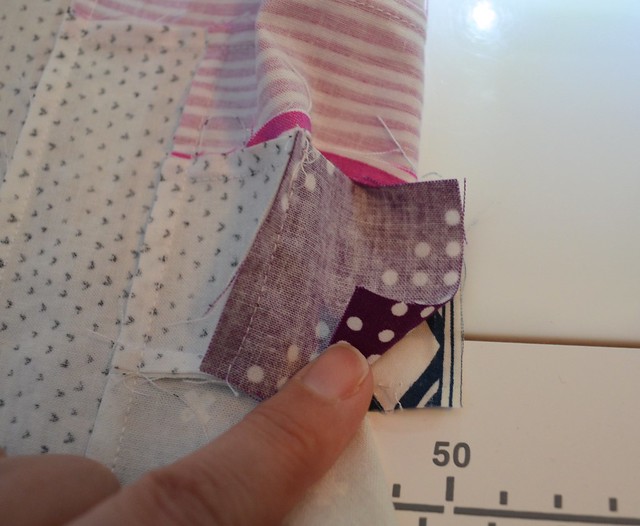
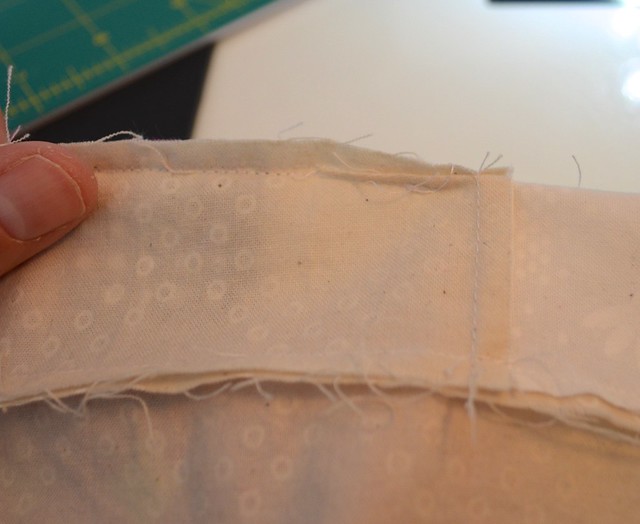
Fold the quilt block so that one of the fabrics on one of the edges of the hole you created can lay free of the block and place your replacement piece underneath so the right sides are together.
The above photo shows that without my hand in the way. Pin if you like and then carefully sew the aligned seam. Be careful to keep it lined up and to not catch the rest of the block in your seam.
I then move to the opposite seam, across the hole. Again, line the replacement piece with the fabric it will be attached to, lining the pieces up. Sew this seam.
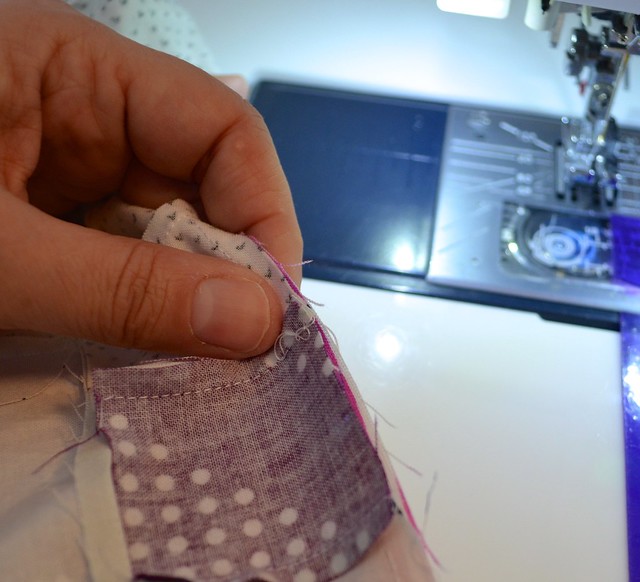
For the remaining two seams, you don't isolate the seam from the rest of the block because these are longer seams than the length of the replacement piece.
Instead, align the replacement piece with the edge of the fabric as you can see in the photo above. For this seam, stitch from the point where the stitches were removed, across the replacement piece and to the point where the old stitches continue. I generally backstitch carefully at the start and stop of this seam.
For the last side, again line up the seam to be stitched and stitch from beginning to end of the stitches removed.
Press carefully, back and then the front.
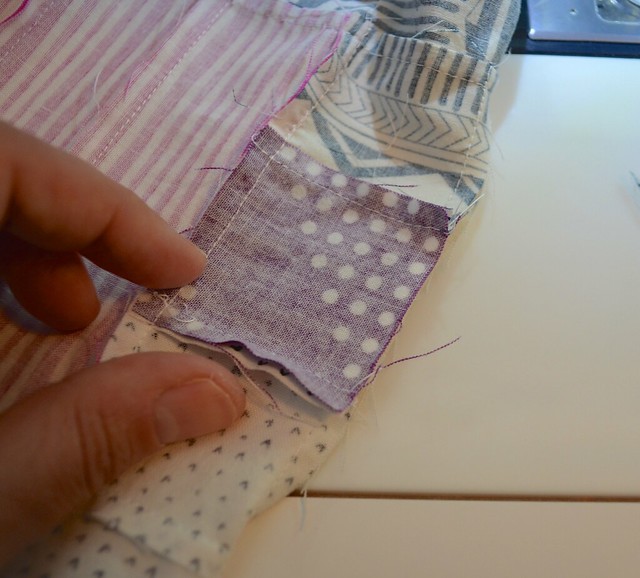
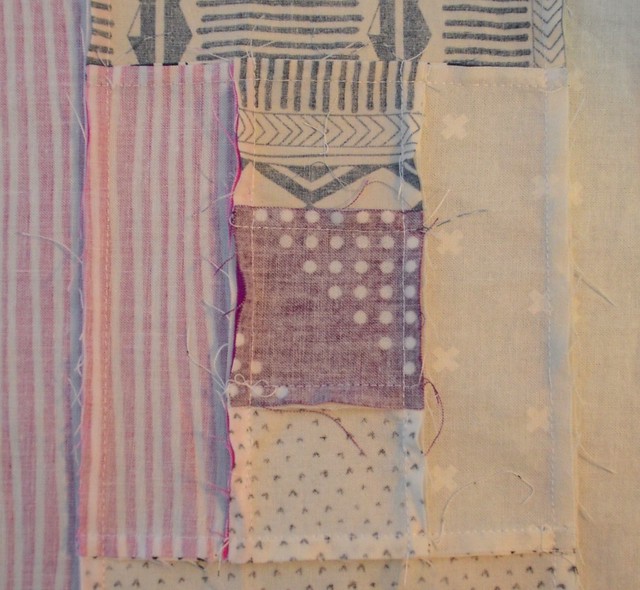
Sometimes, as you can see in the block in the photo above, when you stitch the replacement pieces you can make a tuck in the fabrics.
If a tuck happens, it is easy to repair. Turn to the back of the block and take out the stitches that are causing the tuck. Smooth and alight the seams and carefully restitch. Press.
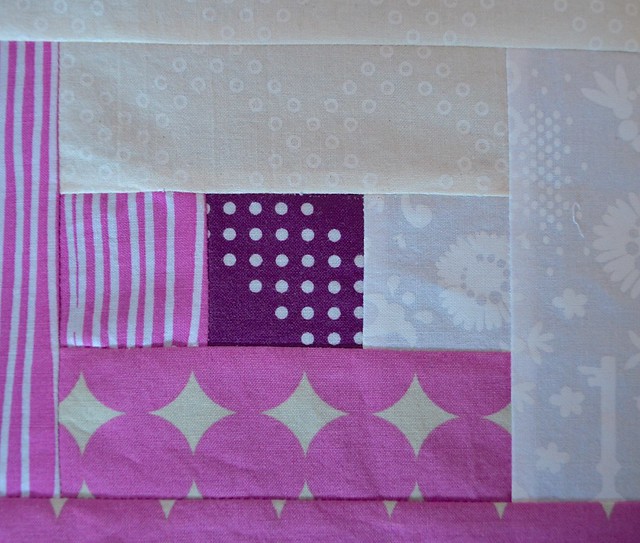
It is far easier to replace the piece taken out of a block when the shape is nice and square like this one but, for the most part, replacing any piece of a block, or even replacing a block in a quilt top is done in the same manner, regardless of the shape. If you have a tricky shape, consider taking out a bit more of the piecing so that you are replacing a more regularly shaped unit. Another solution is to handstitch the replacement piece into position.
I hope this helps you to avoid taking the entire quilt top apart to make a small change to your plans. In my case, I replaced four spots and gave myself a bit of time to contemplate the impact. I have decided that I prefer the small dark plum/purple squares over the longer aqua bars. The aqua bars just stand out too much for me and although they make the lanterns symmetrical, I don't like how they change the traditional courthouse steps block and also they seem a bit confusing to me in terms of the design.
On the other hand, the dark purple single home square can read at the last pointy end on either lantern it touches, it blends a bit better while still being a feature, and it maintains the original block's structure.
There is no right answer on this one, each person will have their own preference. Thank you to everyone who took the time to share their ideas with me the other day.
Best,
Leanne
12 comments:
Great tutorial, thanks for posting this. I've always wondered how people did this, and it looks easier (although not any less time consuming) than I had in my head.
Great tutorial, thanks for posting this. I've always wondered how people did this, and it looks easier (although not any less time consuming) than I had in my head.
I'm still not convinced that all of those white blocks together, contrasted with all of the colored blocks is working. It doesn't seem to pull together as a design.
It IS a little finicky but I've found it's worth it to do this on occasion...
Thank you, Leanne. I've never thought about replacing but this makes sense. I agree with you about the new squares and the Aqua. It was certainly worth a try though!
I agree with you, the deep purple is a better choice than the aqua bars. You have great patience to replace those white squares!
Thanks for that really clear lesson :-)
I won't tell you how many times I've had to do this! But never thought to make it into a tutorial - well done now everyone can!
Unfortunately I've also had to do this! I've also had to replace a block (and change the appliqué on it) while the quilt was layered and tacked and partially quilted - fortunately it was near the edge of the top! I love the plum starter squares!
Good plan with the replacement! I guess it's effectively the same as sewing partial seam :o)
Thanks for taking the time to write this! I'm with you I like the dark purply Squares.
Well Leanne this is going to come in so handy! I'm having to switch out the center of a block I'm working on right now and remembered I'd seen you write about this. Thank you :o)
Post a Comment