

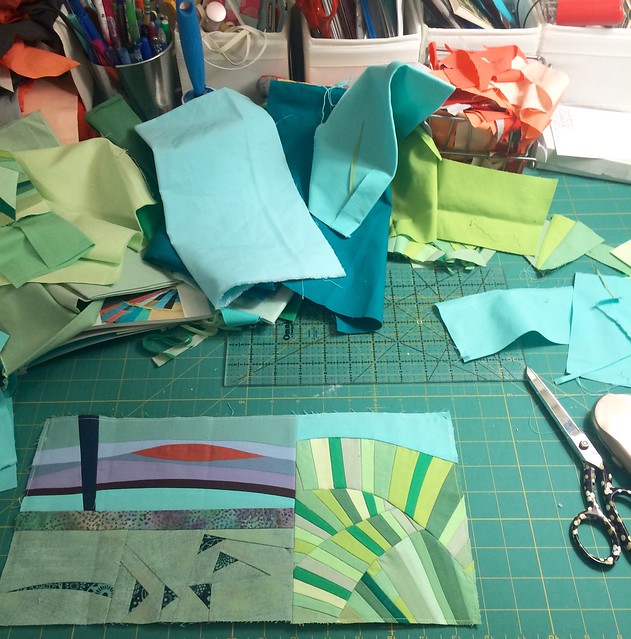
I had some time to sew yesterday, and I was able to make a scrappy addition to my Pip group assignment for October. This is an international (Canada, USA, Scotland, England, France and Australia) group of 6 quilters to make a round robin mini quilt. Every two months one gets a new project to add onto, a block, a border, some stitching, as you like. As the project is to remain small, I am finding that making an addition I like is a great challenge.

The photo above (left blocks) shows my first two attempts at adding rolling hills to this set of beautiful blocks. The top half of the right part is Lynz's starter and the bottom half is Dee's addition. While both of my first attempts are interesting, I ultimately decided that neither was what I had actually envisioned.
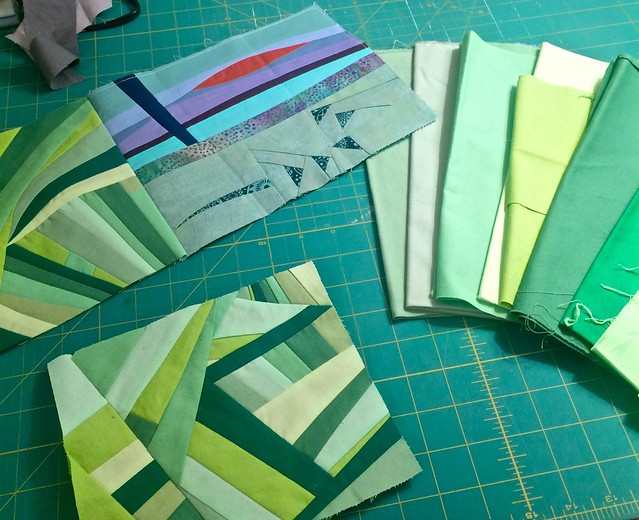
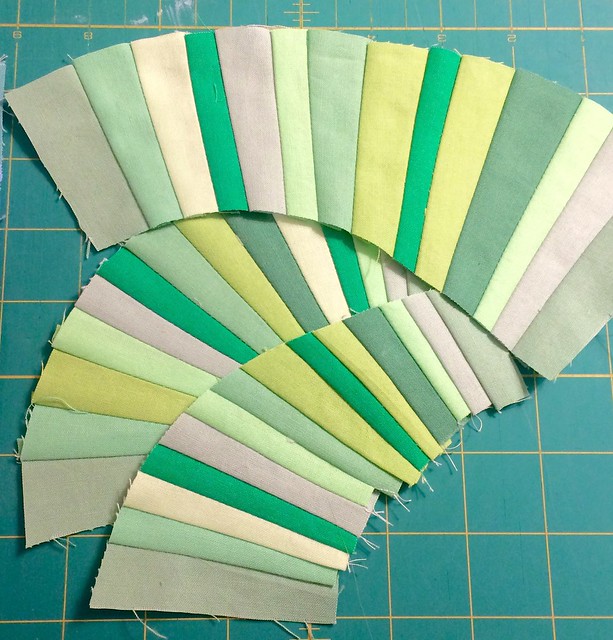
So I pulled out my scraps of green solids again. Although I fold these pieces each time I am finished with them and put them on my solids fabric shelf, they are very much scraps I think. No piece is larger than a fat quarter and it is rare event to find a full fat quarter of any colour. But I find the solid scraps are much more inviting to me to work with when they are folded away on the shelf than in a scrap bin of some sort.
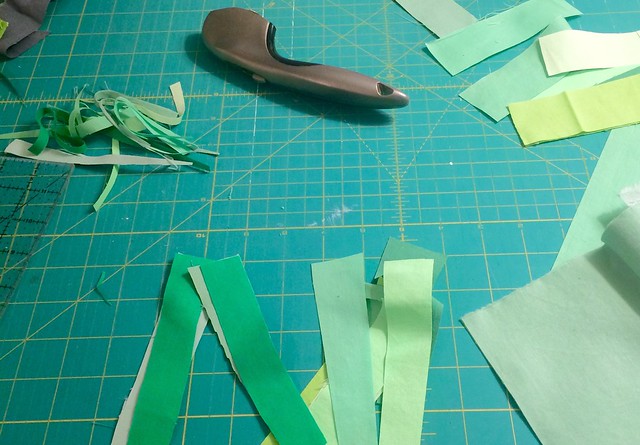
In my mind, I wanted the hills to roll in a method similar to the stunning work of Sherri Lynn Wood. So I decided it was time to actually pull her book from my shelf and read about her score #9 from her fantastic book The Improv Handbook for Modern Quilters. In the book, Sherri Lynn teaches improv approaches, not how to make a exact copy of any particular quilt, and that is just what I needed for this project. Then I set about cutting and trimming off some strips.
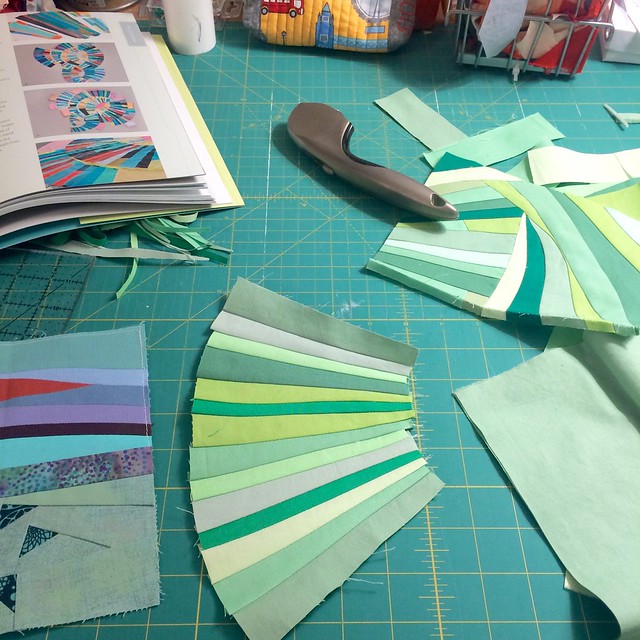
As I worked into the dark evening, the quality of my pictures deteriorated. But I kept my book at hand for inspiration and built a curved chunk.
Remembering that I was making a block of about 6" square, and that I have loads of green scraps should this turn out to be a mistake, I held my breath and cut my curved chunk into two pieces.
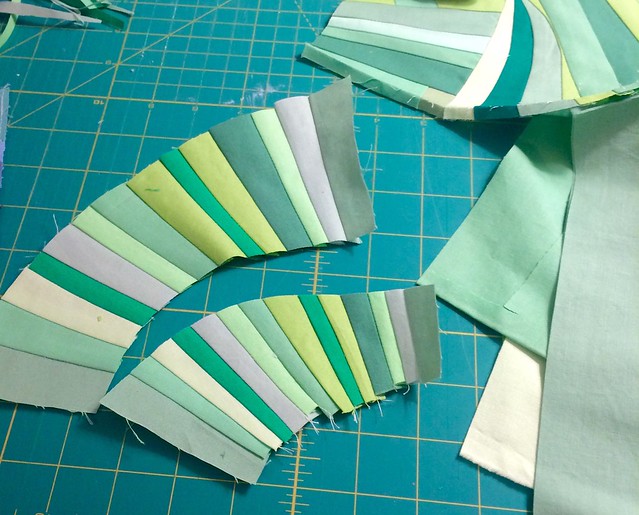
I played around with arrangements. Then I again cut the pieces to match the curves so that I could piece them together.
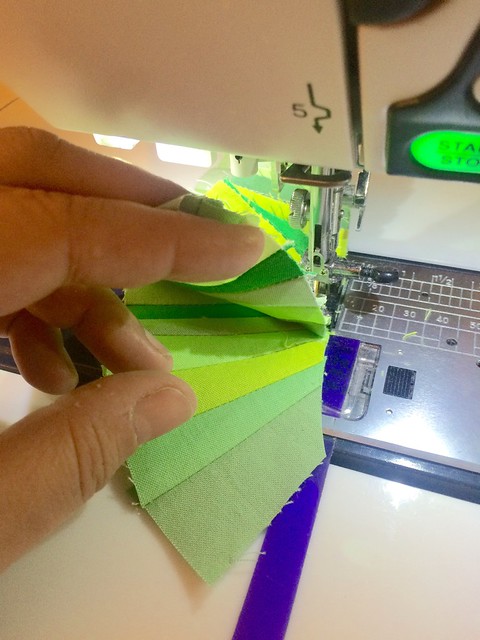
My method of joining the curves differs from Sherri's book. I used my no pin method (the blog post and video is here) as it works well for even seriously pieced curves and is so much faster and easier for me.

At one point I took one of the first two attempts at making the rolling hills and cut a chunk off of it for the bottom bit.
At one point on Flickr, Dee had suggested adding some "sky" to the hills. I decided to take up her suggestion and found a blue that exactly matched the blue in Lynz's starting piece so as to tie the two together. I also stay stitched the edges about 1/8" from the edge so that those bias cut edges do not stretch too much as the block makes it way around the world, next to Susan in Australia. Here is the finished piece, ready to mail before I change my mind again.
Now, its time for you to link up and share your scrappy projects to inspire us all.

A huge thank you to our generous sponsors for providing the following prizes which will be awarded randomly among those of you who link up:
- Sew Sisters Quilt Shop - $25 gift certificate
- Sew me a Song - a $20 gift certificate
- Mad About Patchwork - a $40 gift certificate
- Oakshott Fabrics - a Colourshott charm pack, colours 1 - 30
- Green Fairy Quilts - $25 gift certificate
- Fat Quarter Shop - $25 gift certificate
- Massdrop - a Scented Half Yard Bundle
- You don't have to have joined us before, everyone is welcome.
- One link per person, and it will be your entry into the random draw for the prizes. It is the same link up here and at Nicky's blog - Mrs. Sew and Sow - so you only need to link up on one of our blogs.
- Please visit at least a few of the links, they are very inspiring, and leave comments too as everyone loves to connect.
- Use the Scraptastic Tuesday button if you like (code is on the sidebar) and invite your friends to join us too.
- The link is open until next Monday night at 10:00 pm MST. We will announce the winners next Tuesday.
- If you have trouble linking up, let me or Nicky know and we will get you sorted.
Best,
Leanne
Leanne
22 comments:
An interesting project! I think the bit of blue was perfect to offset your hills...
I think of the Dr Seuss book cover Oh, The Places You'll go when I look at your creation :)
Looking fab
Hi Leanne! Thank you for showing how you work. This looks so exciting! I have done many curves and I think I should do them them this winter. It's great to do something challenging between the projects we feel more easy. Always great to learn something new. I love your curves and green colours! Very inspiring! x Teje
www.nerospost.wordpress.com
Re curves--I know this method of making/sewing curves is popular--that is, fabrics right side up to cut the curve--and it works okay for small areas. But to make the curves actually fit, one should make a template and add 1/4" to each seam before cutting--then the curves will fit like a glove.
When I first saw your two early attempts, I wondered whether a colour other than green might have worked better? Or perhaps a different family of greens--maybe more blue-green. Or maybe more blue? Gray? However, that's just me.
Your final version certainly captures the rolling aspect. I think I will have to let the green percolate a bit in my brain and come back to it.
The idea of doing this with a group is interesting. Who gets to keep the finished piece? What is the ultimate size? Who gets to keep it?
I absolutely love what you came up! Thank you for showing us how you approached your work here -- it's fascinating.
That's stunning! I admire your inspiration and patience!
I love what you have done with this Leanne! However, I am feeling the pressure already of what my addition might be.... Maybe its time to add some top stitching of sorts????
I am intrigued to see how this will end up Leanne! Does everyone have a piece that is doing the rounds that they have started?
I've participated in a couple of similar type round robins and it's more difficult to add to someone else's work than it appears. Good job on accomplishing what you set out to do! And even better...sharing the process.
THANKS FOR SHARING>VERY NICE!
msstitcher1214@gmail.com
Love seeing where you started and where you ended up. The blue is just the right touch.
I loved reading your post today....I don't think it is anything I would ever attempt...but I really think you did a stellar job!
Third time lucky! It turned out really well in the end - just perfect with that blue.
Yes that is much better!
You did a stellar job! The sky was a great addition
This looks amazing Leanne - loved seeing how you did the curved piecing!
I love what you added!
Your Green curves are great - you are brave for stitching curves ;-)
Wow! I thought the piecing was Much larger until I saw it next to the scissors. The blue was the perfect touch.
Post a Comment