
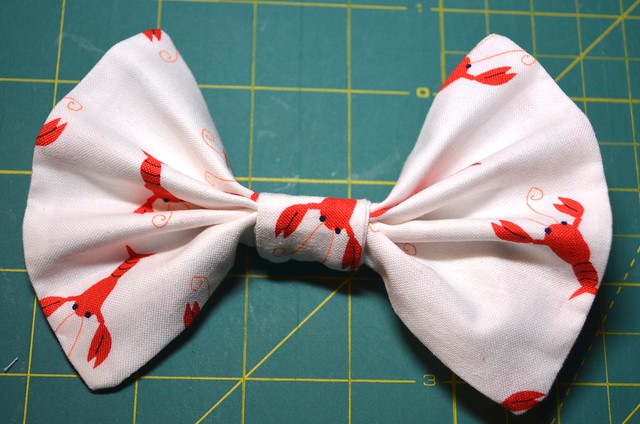
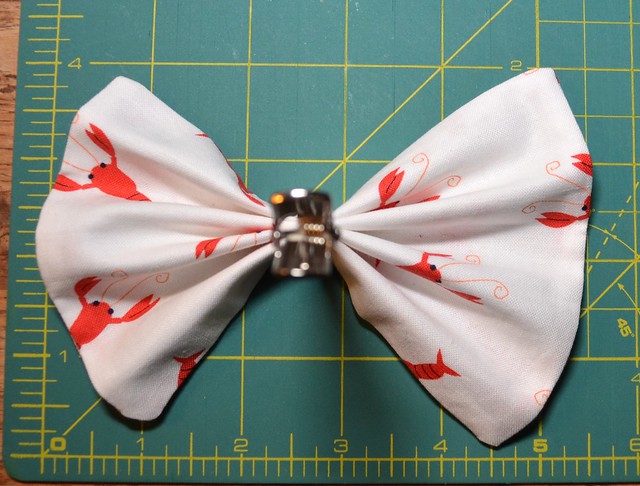
It seems that big, cheerful bows are stylish additions to one's hair these days and I said, oh I can make one of those. Now I will show you how, they take about 10 minutes to make.
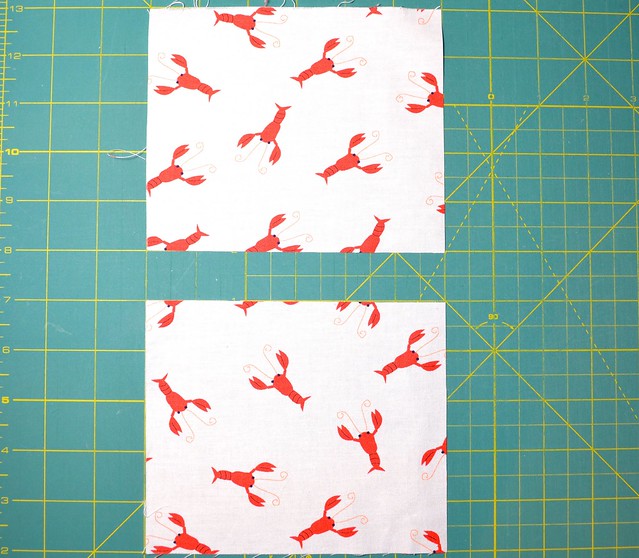
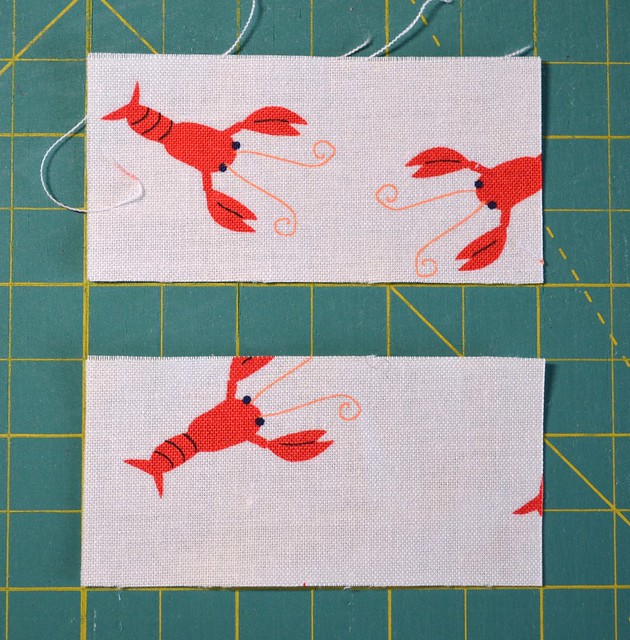
Cut two pieces of fabric to the size you want your bow plus .5". A bow that finishes about 5.5" by 4.5" before it is scrunched up seems a nice size for teenagers. If you have a smaller person, experiment until you get a size you like.
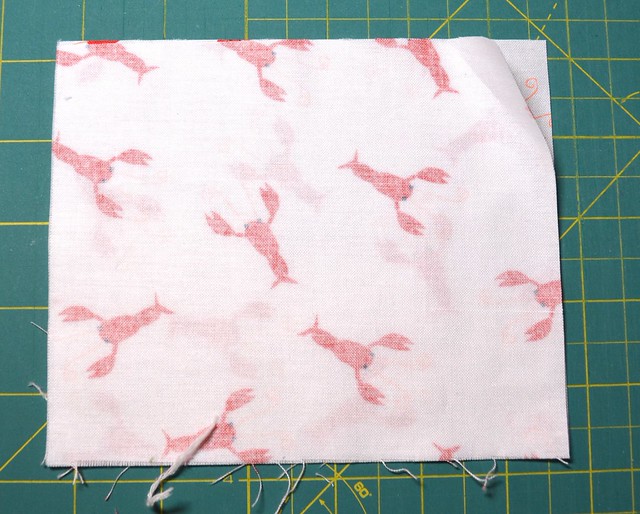
Lay the fabrics right sides together.
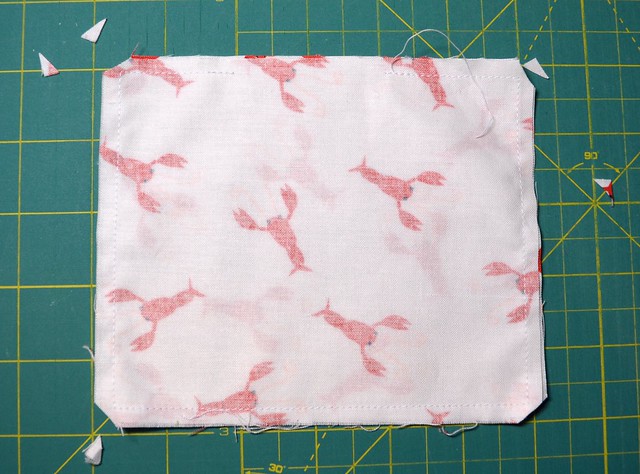
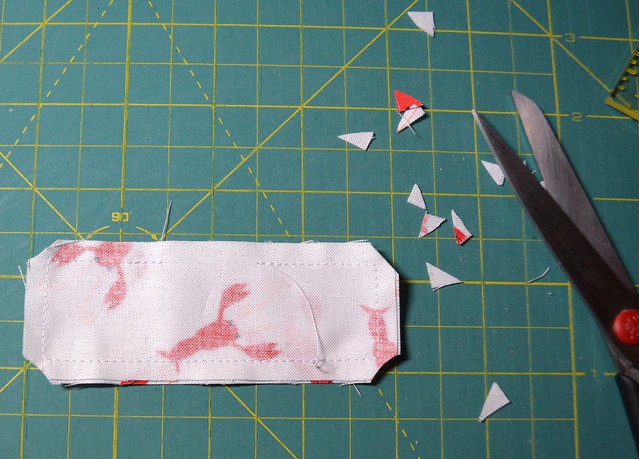
Sew around the outside with a 1/4" seam. Leave an opening (see the top of the photo) for turning. Clip the corners.
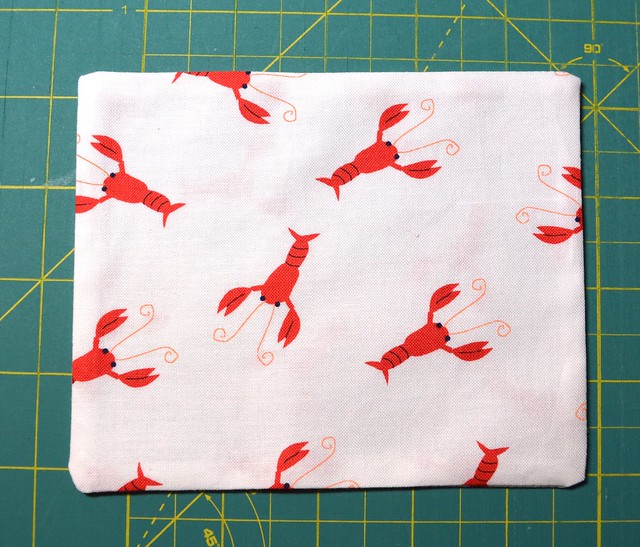
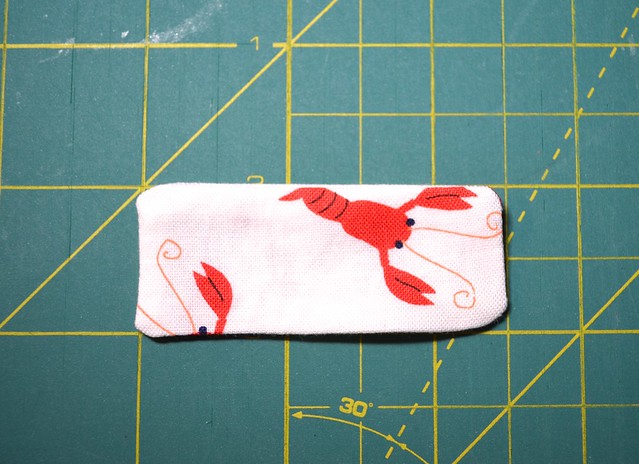
Turn the piece right side out through the opening and use a pointy thing (I used a knitting needle) to carefully push out the corners neatly. Press and be sure that your opening seams are lined up to be pressed neatly inward. If you want you can stitch that opening closed now with a few hand stitches, but I don't bother - its a hair bow, it won't be washed so that seam will just stay neat I expect.
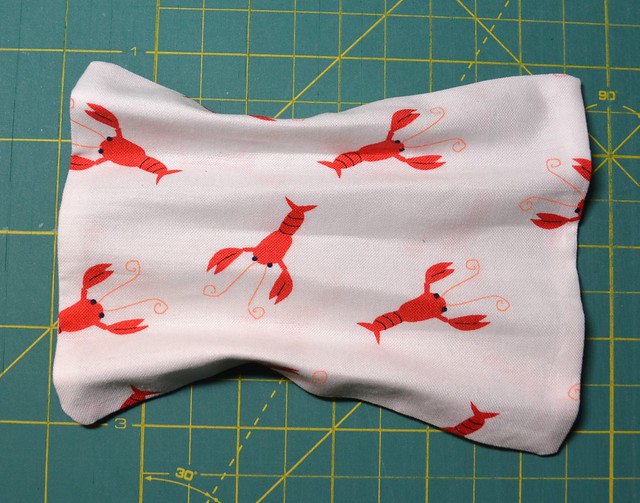
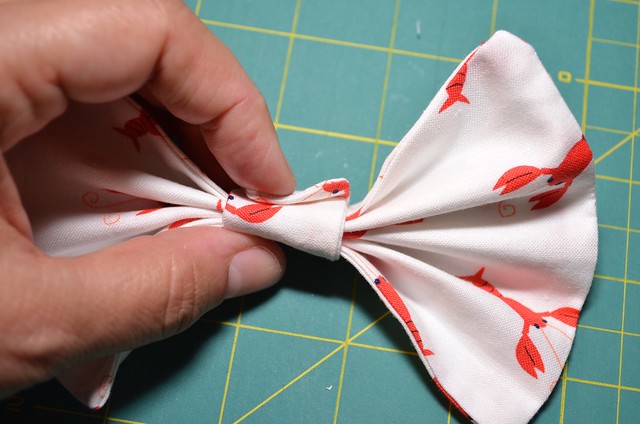
Accordion fold the bow. The goal is to have the outside edges folding toward the back at the top and the bottom. The width of the bow will determine how many folds you can make, I try to get them about 1/4" deep and to get four folds on a bow this size.
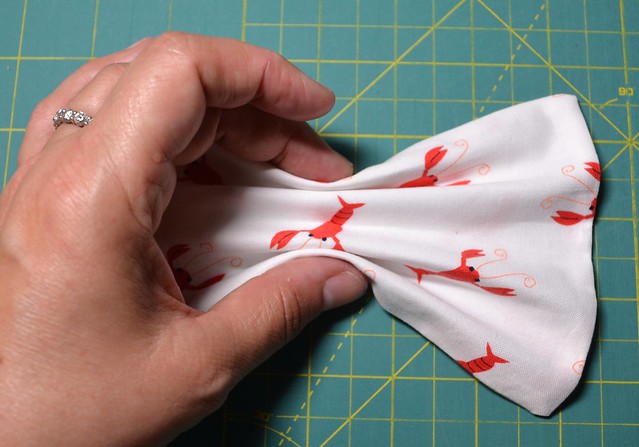
As you get the folds sorted, scrunch it in.
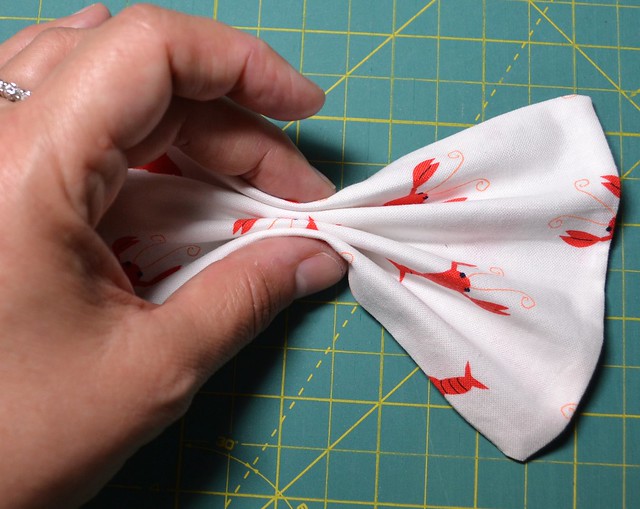
As you scrunch it in tight, even out the folds on the front and take a look at the bow to get it the way you like it.
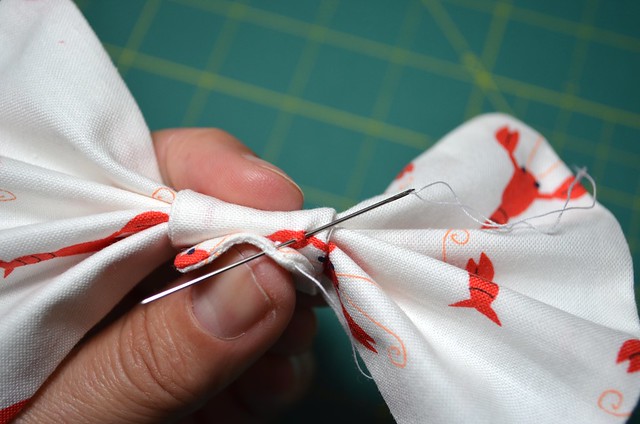
Clip it with your hair clip, bobby pin, paper clip or straight pin, or hand it to someone to hold onto (maybe someone waiting for the bow for her hair). At this point, you can, and I have on some bows, stitch through the folds by hand a couple of times to secure them into this shape. I am not sure it is necessary on a single bow. For double bows (see below) I stitch each separate bow through the folds a couple of times to keep them neat and tightly folded.
Cut two pieces for the tie in the centre. For my size bow, cut 3" x 1.5" pieces. Again, this piece can be sized for any size bow, it just takes a little experimenting to get a size you like.
Put the two pieces right size together, sew around the outside edge and leave an opening for turning. Clip the corners. Don't look at the size in that photo, my first piece was too long. But then I just sewed another seam inside to get it right.
Of course, a more organized person would cut and sew this piece along with the bow part, but I never think to do that.
Turn and press. Again, if you want, stitch the turning hole closed. I don't bother.
Get the bow and remove the clip. Warp the little piece around the folds of the bow until it is tight and positioned how you like. I like the edge to be at the back, but it does not have to be.
Stitch this centre tie closed. I do not stitch it to the bow so that you can rotate it if you misplace it and so that you can easily slip you hair clip through it. If you are a hot glue person, you can glue this closed instead. If you are gluing, feel free to add a drop of glue between each fold too.
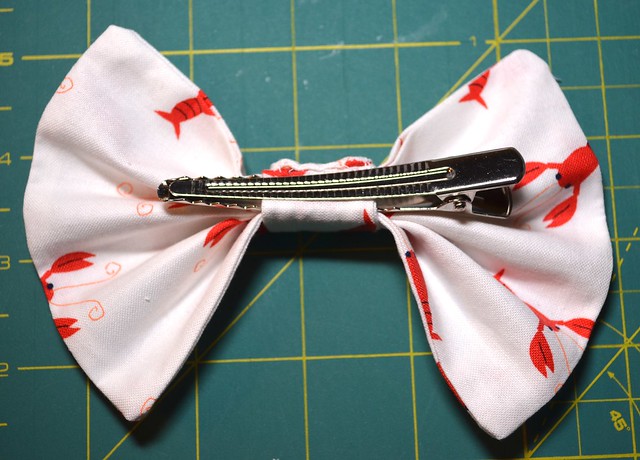
Slide your chosen hair clip through the centre tie and you are done.
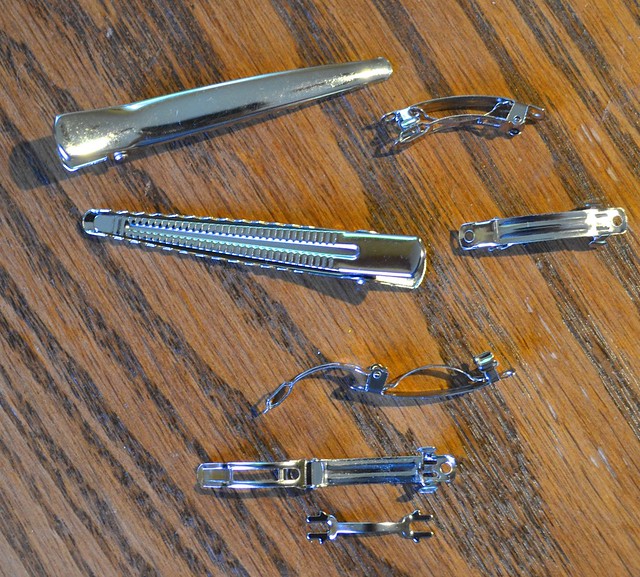
Here are two kinds of hair clips. the larger ones are just big clips. The smaller ones are all the same, I just gave you different angles. You want the centre bow to go through that clip that has the curve. That clip can come out (see the bottom one in the photo) if you forget to put the clip on before you sew the centre tie shut. These were bought at the dollar store, I am sure you can also find them online if you cannot source them locally.
You can also use a bobby pin or other barrette, anything that can slip through the centre tie and stay in the hair will work. If you want your bow attached to an elastic for a ponytail, just slip the elastic in place before you stitch the centre tie shut.
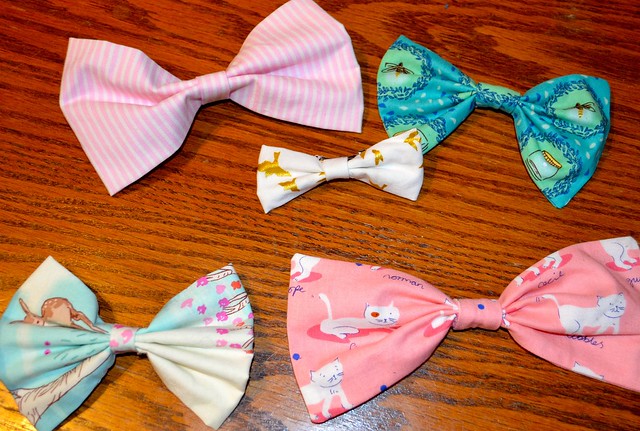
You can make these bows in all kinds of sizes.

And you can double them up. for this one I made two bows, and I did stitch the bow parts through the folds - just run the needle carefully from one side to the other through all the folds at the centre point and back three or four times and knot it off. Then put them side by side and attach the centre tie. Next, I want to make some with double bows stacked one on top of the other.
This style of bow can also be attached to clothing, a bag, shoes, or whatever you like. If one was very organized, one could attach them to presents too, and then it would be like an extra little gift after the present is opened.
Have fun making some bows and let me know if you have any questions.
Best,
Leanne
7 comments:
I love the kitty bows!! I am not even a cat person but they are so cute!
Very cute, I remember making these with my gran when I was wee
I may show these to the girls, one day!! Really sweet xxx
Definitely cute!
Oh they're sweet- more my sister style for sure. I want that lobster fabric though!!!
cute! Love the double bow
Fabulous ribbon deals!
Valentine's Day! Wedding! Easter!
Check it out: https://www.etsy.com/shop/ThisnThatCraftSupply
Post a Comment